Configuring Other Objects to Be File Containers
Most typically, you will add files to documents and document copies (through the Files topic).
By configuring other objects types to be file containers, you can also add files to:
The following configuration is required to turn an object a file container:
To Create a File Container Class and Template
-
Open the System Admin tab ().
-
Click the Information
Modeling icon
 .
.
-
Expand Classes
& Attributes.
-
Select the Documents parent class, or some child document class under which you want to create the new class.
The Class Group or Class form opens in the Content pane.
-
To create the file container class, do the following:
-
In the Class Group or Class form, expand the Child Classes topic and click the New link.
A new Class form opens in the Content pane.
- In the Code field, enter a code for the class.
- In the Name field, enter a name for the class.
- Set Type to File Container.
-
Click the Add icon
 in the action bar.
The class is created. You can now add a template to this class.
-
In the Class Group or Class form, expand the Child Classes topic and click the New link.
-
To create a file container template and add it to the class you just created, do the following:
-
In the Class form, expand the Templates topic and click the New link.
A new Template form opens in the Content pane.
- In the Name field, enter a name for the template.
- In the Description field, enter a description for the template.
- In the Mask field, enter a mask for the template.
-
Click the Add icon in the action bar.
The template is created.
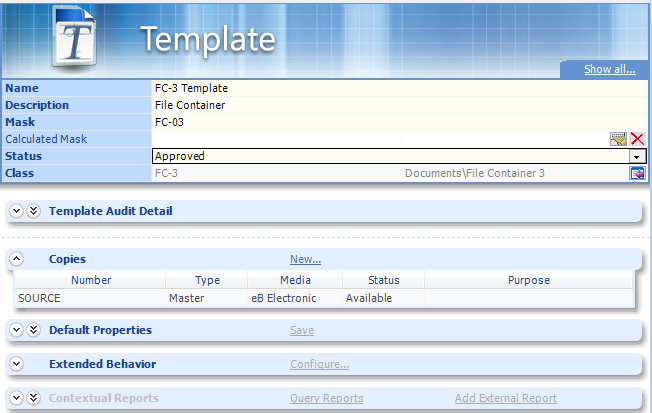
- (Optional) You can use the Copies topic to optionally configure the accompanying document copy for the files that will be added, thus allowing you to specify the copy name, security, etc., as shown in the image below.
- Set the Status of the template to Approved.
-
Click the Save icon
 in the action bar.
-
In the Class form, expand the Templates topic and click the New link.